# [Audio Adversairal Examples](https://github.com/carlini/audio_adversarial_examples)
## 配置过程
- Ubuntu16.04 LTS
- Anaconda, Python3.6.2
- CUDA 10.0, CUDNN 7.6.4
1. ```shell
# 创建并激活虚拟环境
$ conda create -n audio
$ conda activate audio
```
2. 根据项目文档依次安装依赖库(这里因为我换过镜像源为清华源 部分包找不到时需要用pip安装)
```shell
$ conda install tensorflow-gpu==1.14 progressbar numpy scipy pandas attrdict pyxdg
$ pip install python_speech_features tables
```
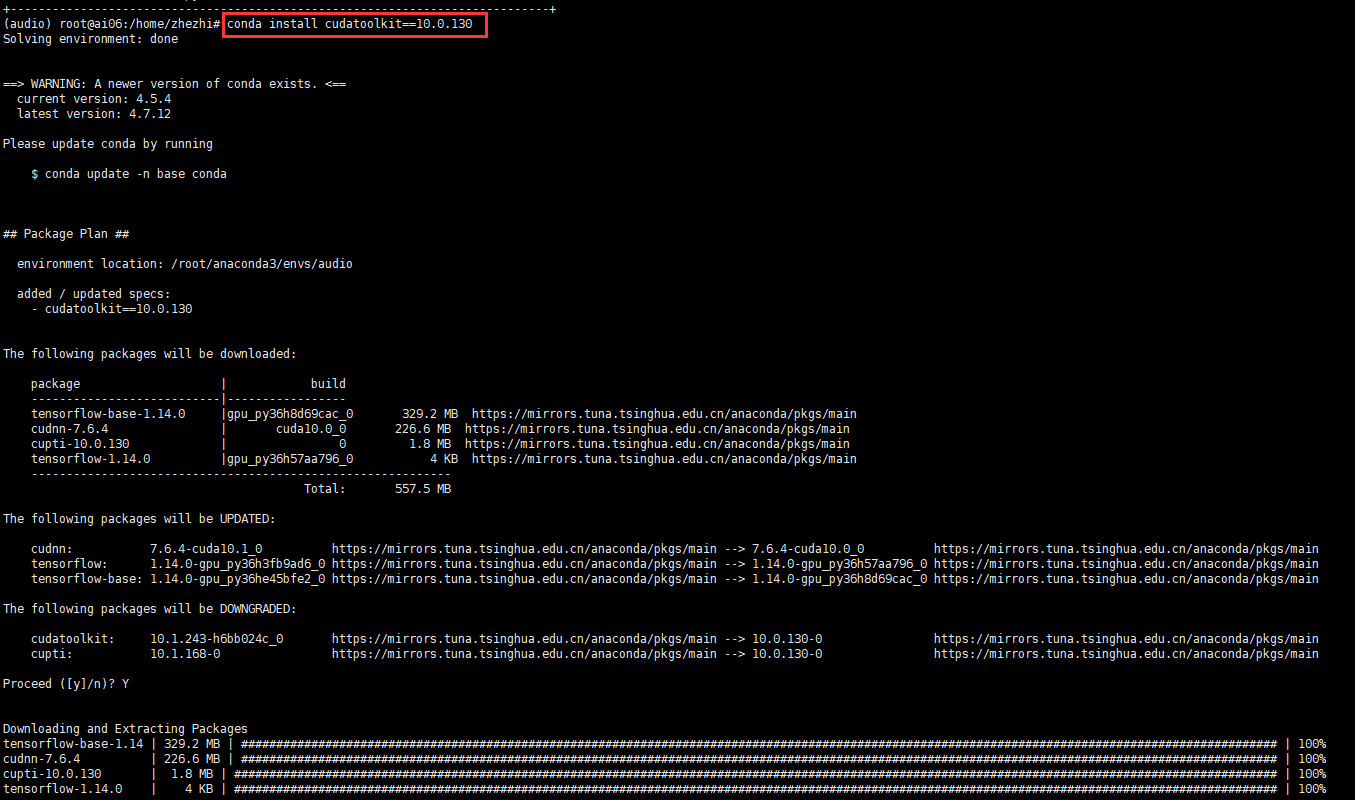
> 这里有个坑 用conda install tensorflow-gpu==1.14 会发现默认装的cudatoolkit版本和cuda驱动版本不一致,具体报错是
>
```
tensorflow.python.framework.errors_impl.InternalError: cudaGetDevice() failed. Status: CUDA driver version is insufficient for CUDA runtime version
```
>
> **解决方案:**
>
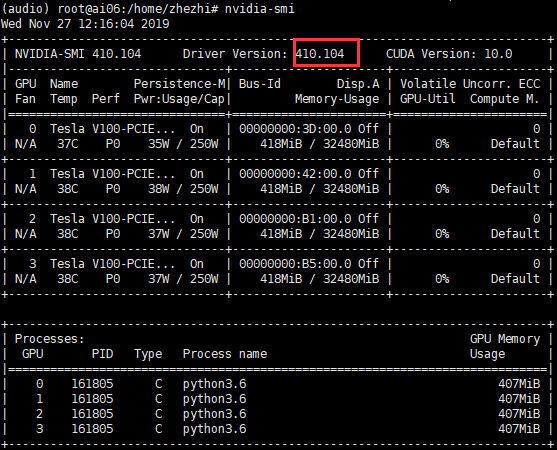
`nvidia-smi`
> 查看CUDA驱动版本
>
> 
>
> 上网查询安装对应的版本10.0.130
>
> `conda install cudatoolkit==10.0.130`
>
> 
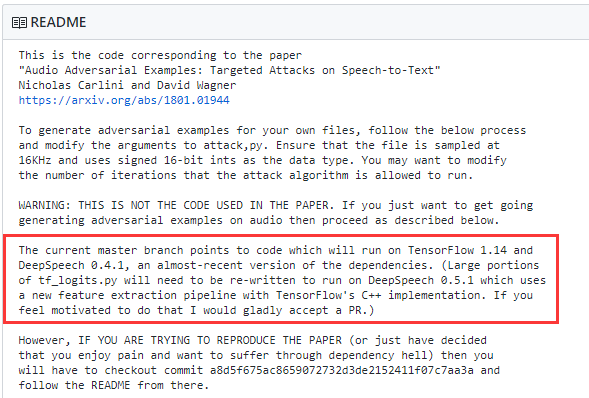
3. 安装DeepSpeech 这里亦有一个坑,安李给的DeepSpeech项目链接其实是已经更新到0.5.1了,但是作者的攻击是基于0.4.1的,DeepSpeech实现方法有所变化因此需要修改作者的tf_logits.py中代码,我一开始是装的0.5.1 **没认真看作者的文档 这种失误其实很没有必要** 导致走弯路又重新降级到0.4.1了
4. 这里的具体过程如下:
从DeepSpeech的release中找到0.4.1的源码并下载
[DeepSpeech/Release](https://github.com/mozilla/DeepSpeech/releases?after=v0.5.0-alpha.0)
```shell
$ pip install deepspeech=0.4.1
$ tar -xzf v0.4.1.tar.gz
$ tar -xzf deepspeech-0.4.1-checkpoint.tar.gz
```
5. 作者文档其实有笔误(第一处classify.py,错写为attack.py) 测试用例如下:
```shell
$ python classify.py --in sample-000000.wav --restore_path deepspeech-0.4.1-checkpoint/model.v0.4.1
$ python attack.py --in sample-000000.wav --target "this is a test" --out adv.wav --iterations 1000 --restore_path deepspeech-0.4.1-checkpoint/model.v0.4.1
$ python classify.py --in adv.wav --restore_path deepspeech-0.4.1-checkpoint/model.v0.4.1
```
6. 测试结果:
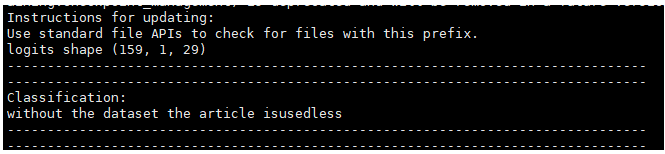
原始音频被识别为:without the dataset the article isusedless
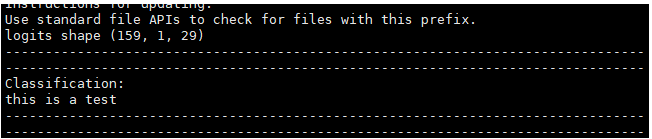
被攻击后的音频adv.wav被识别为目标语句
Audio Adversarial Examples: Targeted Attacks on Speech-to-Text 复现
